|
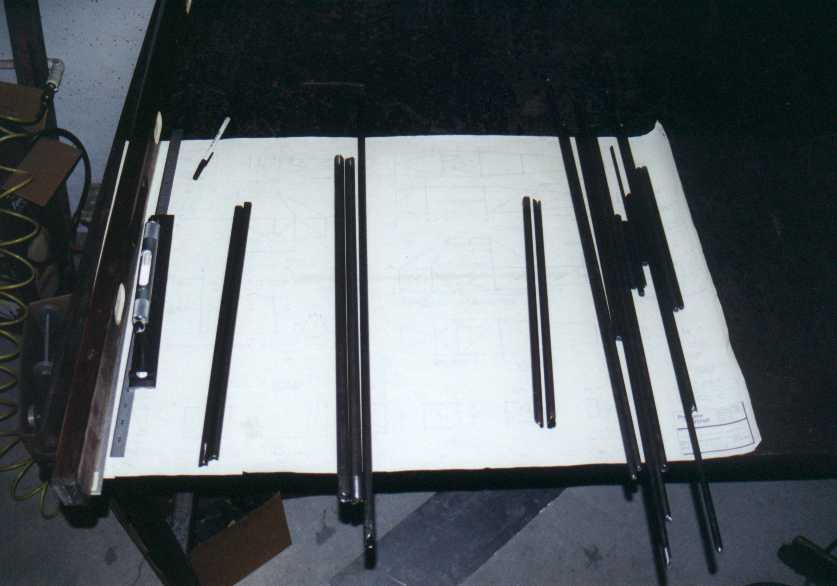
It all starts here with the plans and a few pieces of
tubing. The toughest part of the whole job is fitting the tubing ends.
|
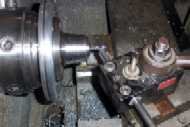 |
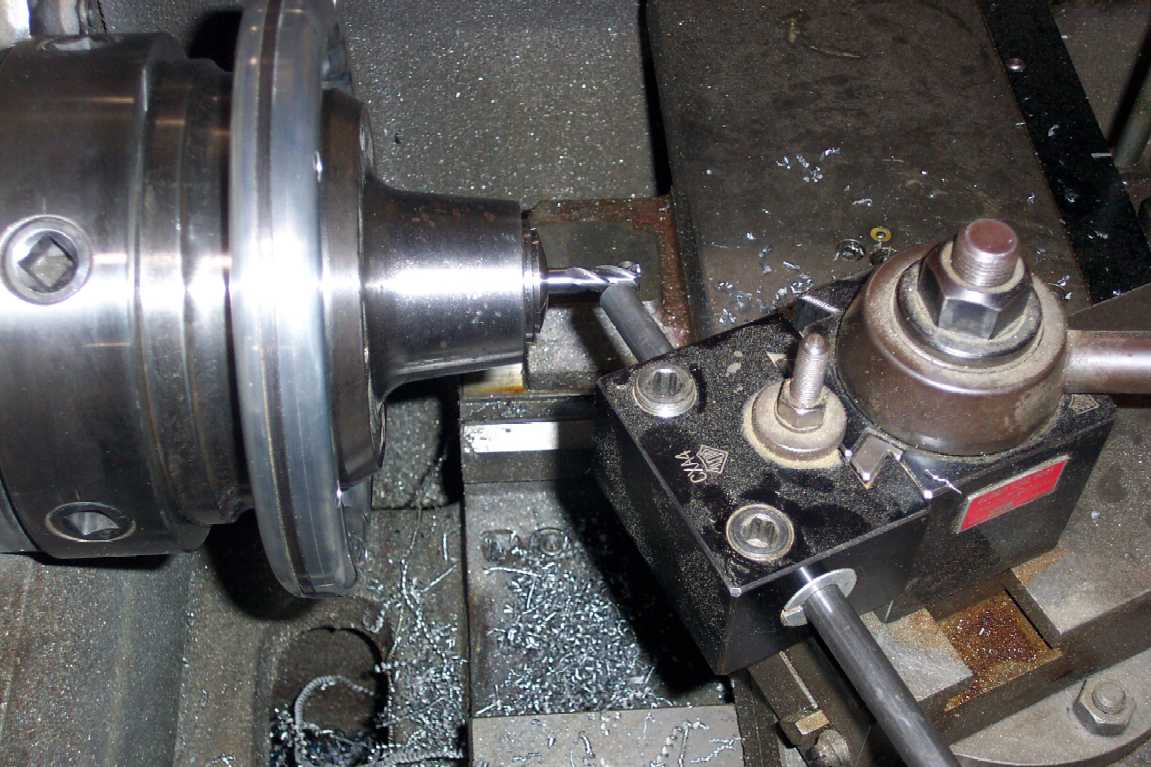
This is the engine lathe setup I used for fitting the
tubing ends. The lathe cross slide is rotated to the angle required and the
tubing is fed into the cutter. I used an aluminum split bushing in a boring bar
holder to grip the tubing. I used a carbide end mill to make the cut, but you
could use a reamer instead. |
 |
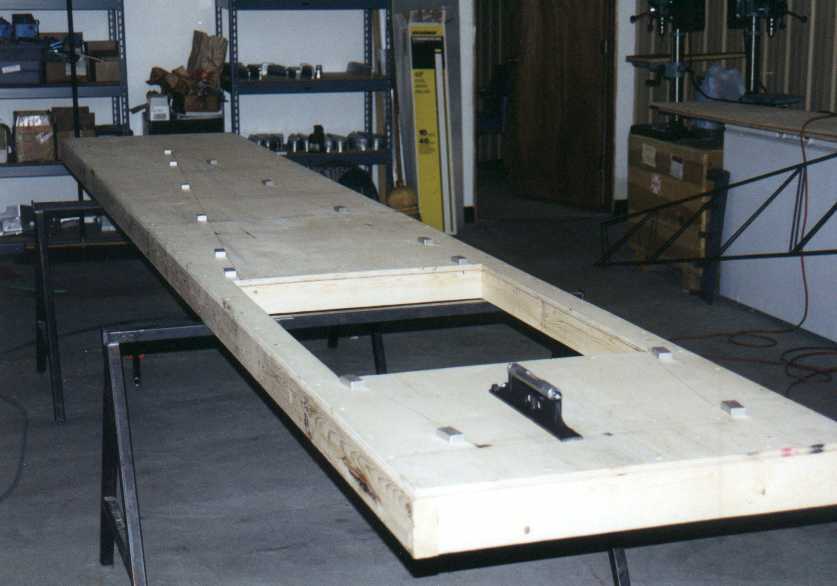
You will need a couple of fixtures to tack up the
fuselage. Make one to tack up the side ladder structure and one to tack up the
assembly. The top longerons are flat from the firewall to the tail post so the
structure is tacked up on this fixture upside down with the cabin structure
down through the big hole. |
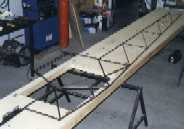 |
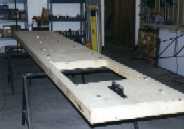
Here is the left ladder structure laying on the assembly
fixture. The left side has the door. You can also see the center line of all
the tubes drawn on the surface with aluminum blocks screwed down to locate the
longerons. |
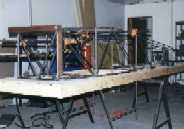 |
Both sides are shown here with some of the cross tubes
in and clamps and wire holding the assembly together. If you look at the larger
image you can see the crossed wires holding the assembly square. You make a
loop of wire from the upper longeron on one side to the lower longeron on the
opposite side. You then make a loop from the opposite longerons making an X at
each fuselage station. Use a rod through the middle of each loop to wind it
tight, checking for square as you go. Leave the wire crosses in until you have
finished the welding of the complete structure. |
 |
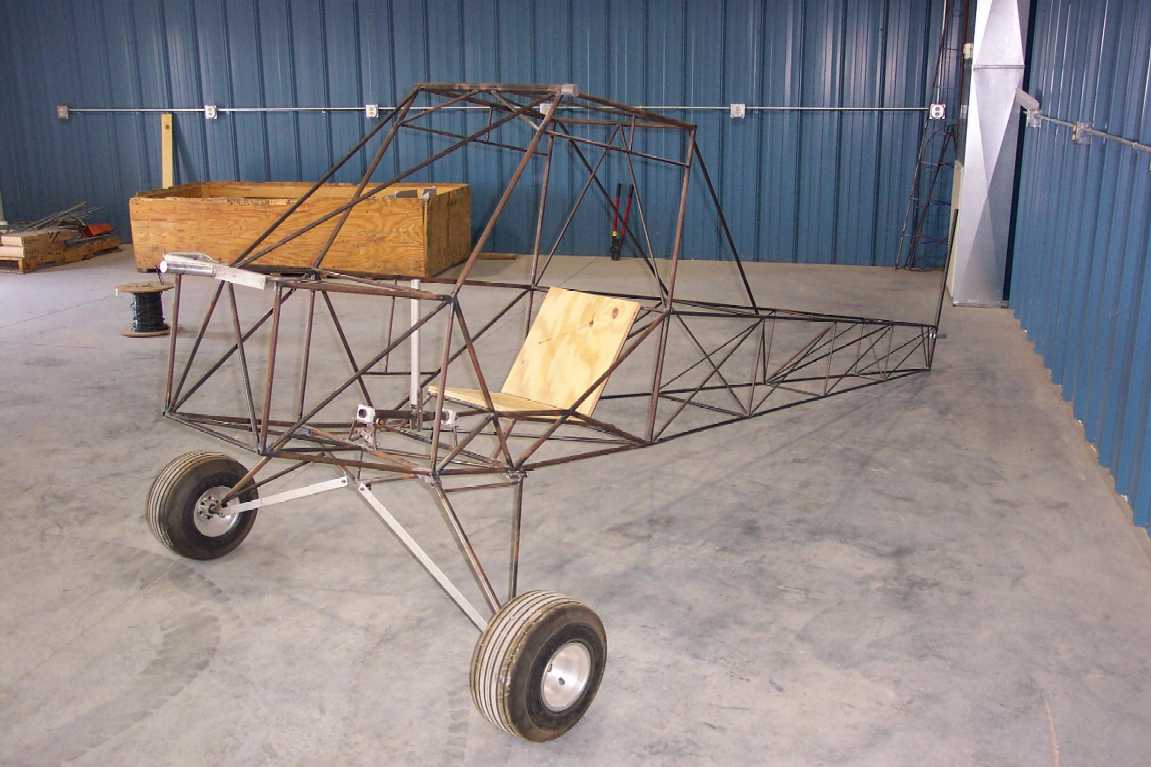
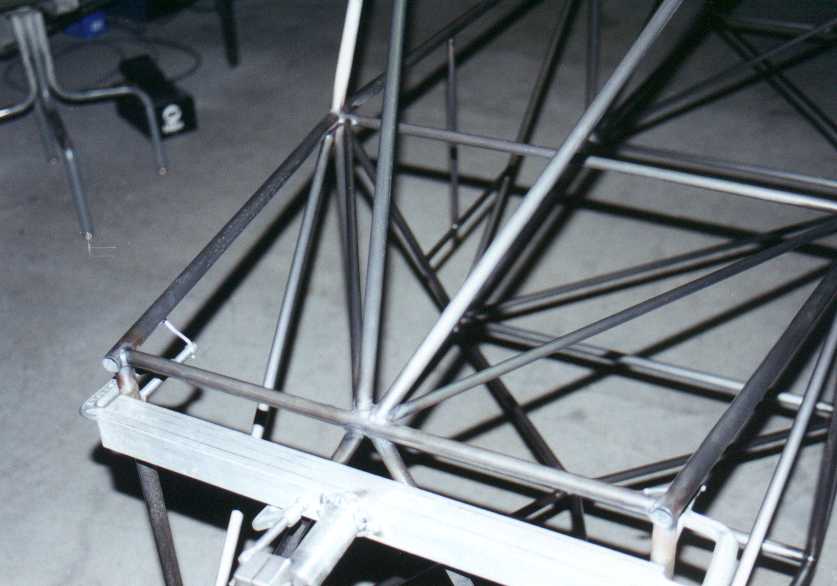
After tacking in the assembly fixture is complete it is
removed and the rest of the tubes can be added in preparation for finish
welding. |
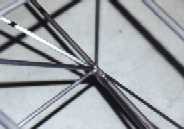 |
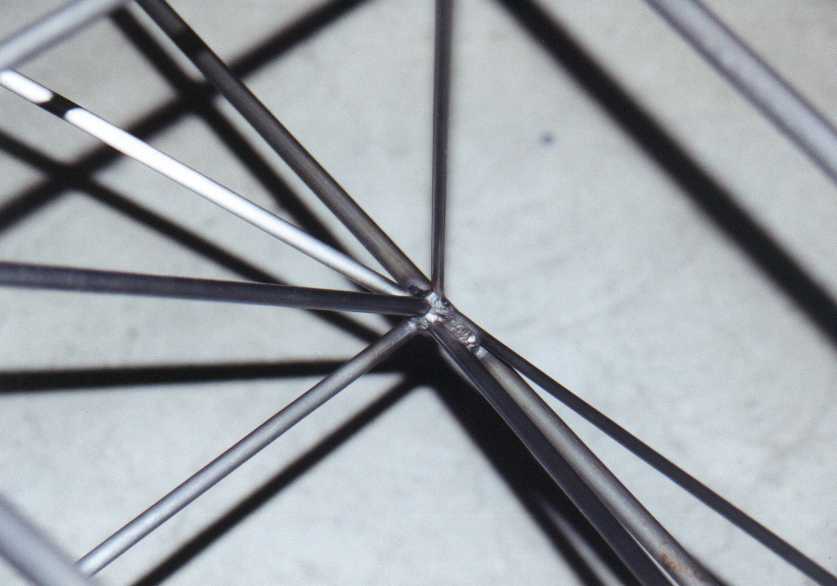
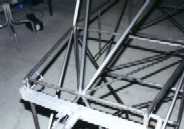
These last two pictures show some of the tougher
clusters to weld. |
 Fuselage